Use Web Flasher
Now, you can set up your device by visiting https://config.ezlopi.com
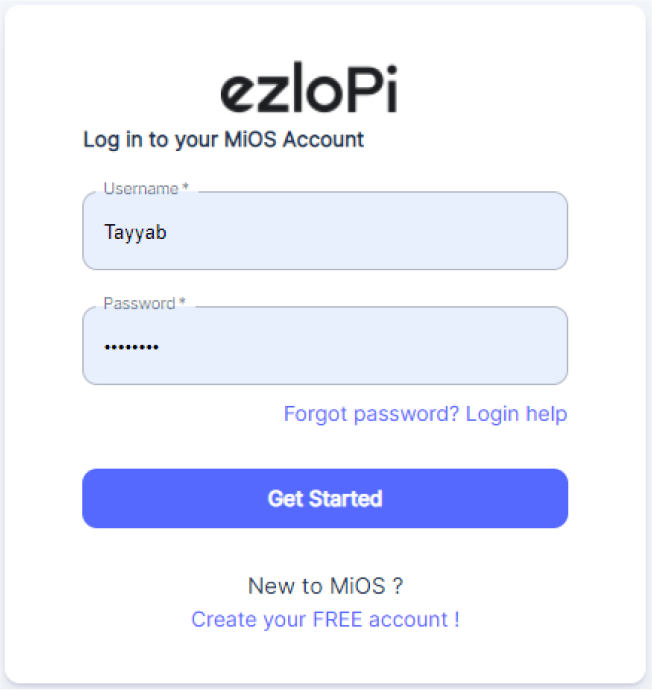
1. Log in using the credentials which you just set earlier while signing up.

2. Now click on Connect Device and a pop-up window will appear.
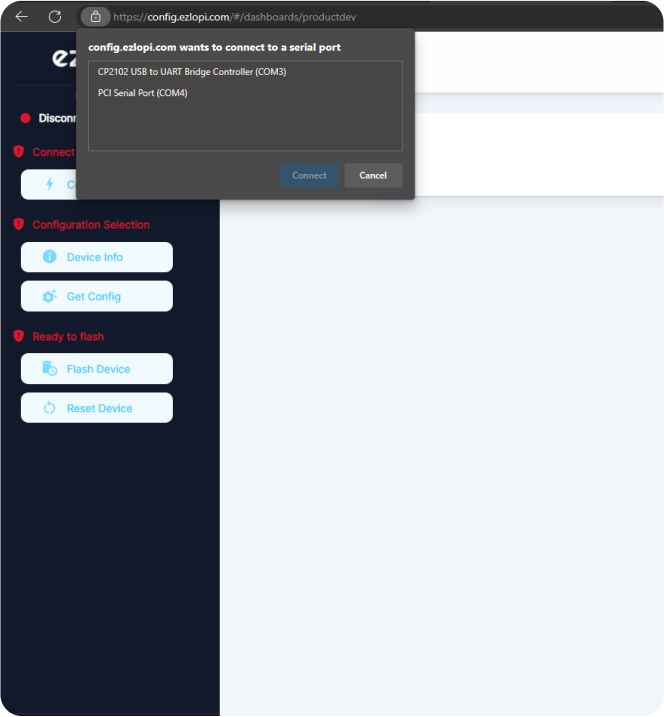
3. Now, select COM Port to which your ESP32 device is connected. In our case, the COM3 port is used.
Click connect.

4. If you are new to this and it’s your first time configuring, select Create new Device ID.
5. Enter Wifi SSID and Wifi Password.

6. In the Device Configuration, tab click on digital output

A digital output window will open for inputting the following parameters which we will enter in a moment.
- Set a device name of your choosing. In our case we set it to Relay.
- Set Out GPIO to 2.
- Set Resistor to PULL UP
- Set the default value to low
- Check the Button Enable option.
- Set INP GPIO to 5.
Now Click Apply button

Press the Flash Device button.

7. A window will appear on bottom left side of the screen displaying “Please press BOOT button while flashing begins.”
8. Hold BOOT button down until the next window appears on the bottom left side of screen which says “Installation prepared. Please release the boot button now.”

9. Release the BOOT button from your ESP32 when this pop-up on the bottom right window appears

10. After some time this popup will appear saying Device Flashed Successfully!
11. This means that your device has been set up successfully